How to Create a New Document
 Updated
by Prompt Support
Updated
by Prompt Support
You will only be able to create new documents in the Sections and Departments that you have Document Author permission. If you require additional permissions contact your Prompt Admin or a User Admin.
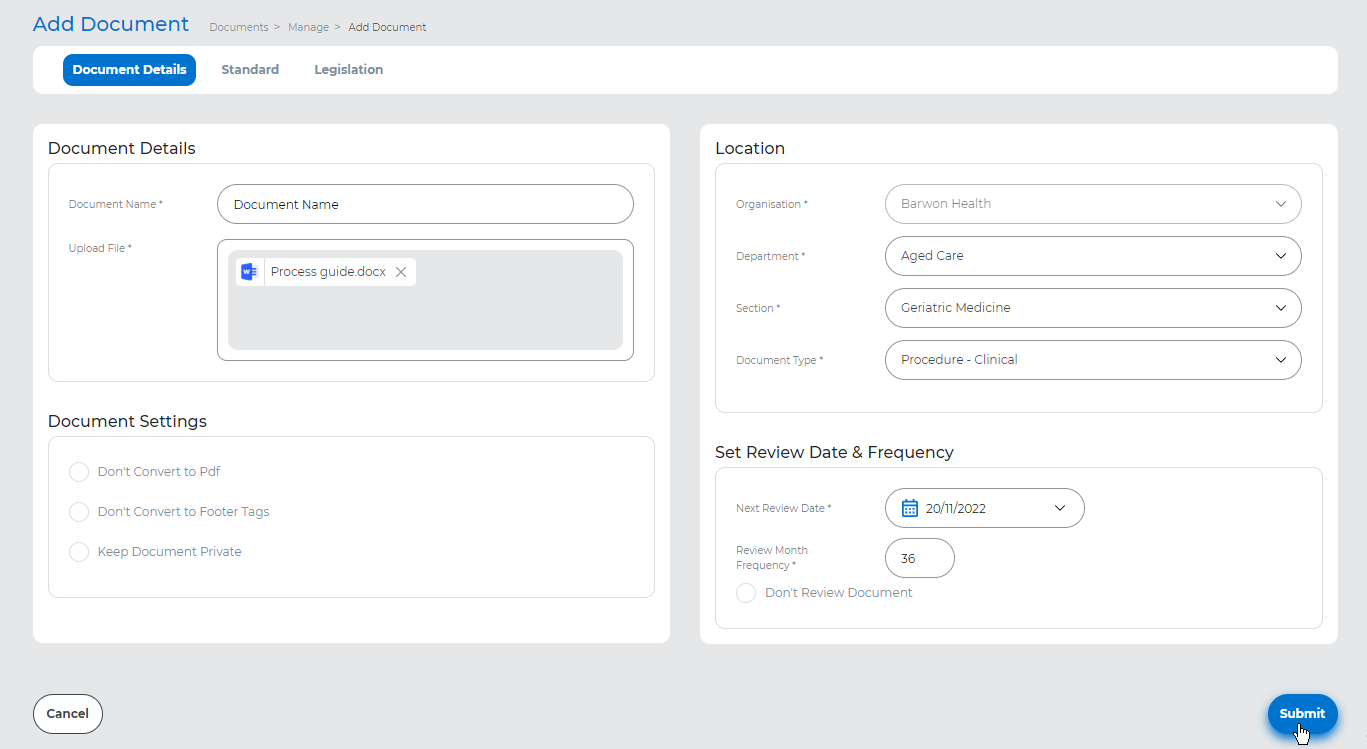
Go to Documents -> Manage, select Add Document
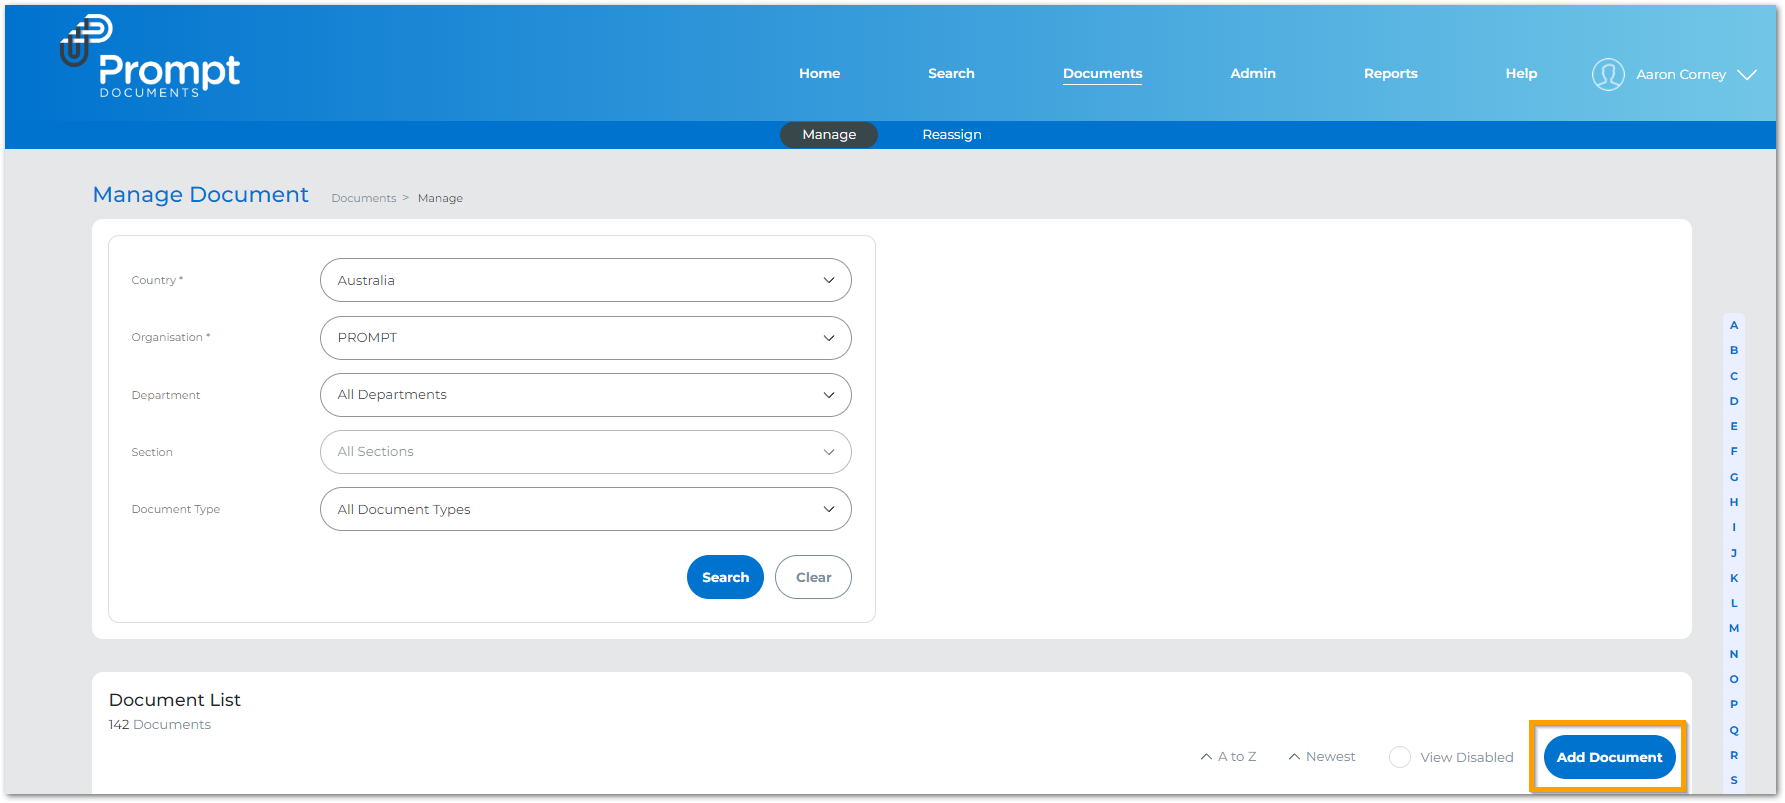
The Add Document page will open
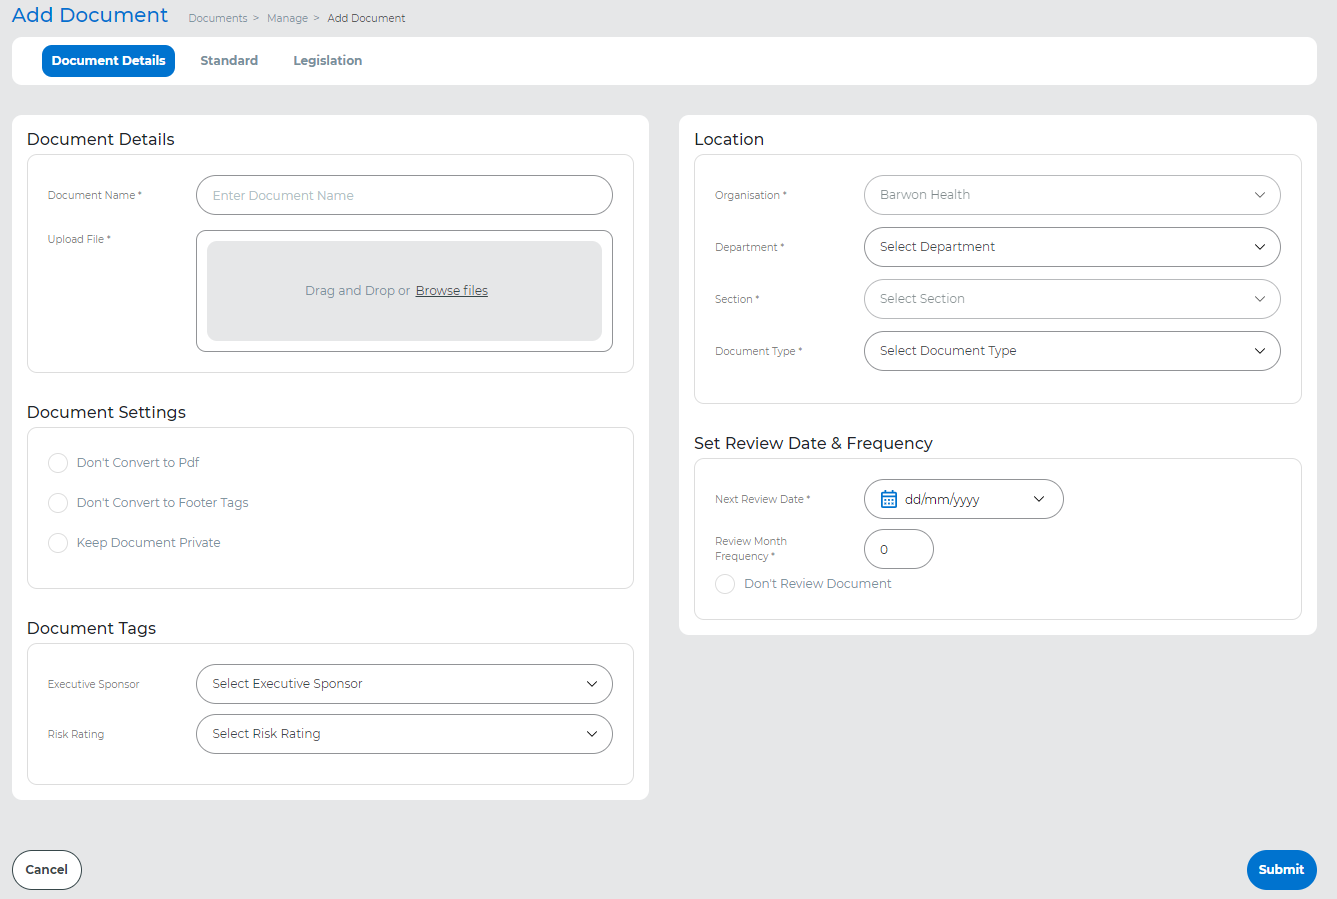
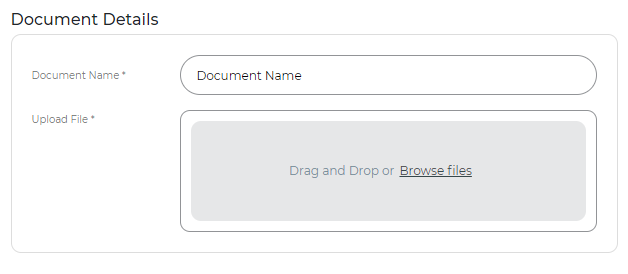
Enter Document Name (Document names must be unique in each section. An error message will appear if that name has already been used)
After name creation you may drag a file into the grey box or click Browse Files to locate a file in your computer.
Click to select and highlight a file, then select Open

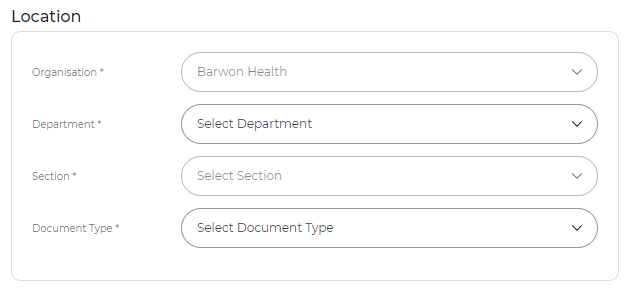
Location
Once your file has been uploaded select the location where your document will be added.
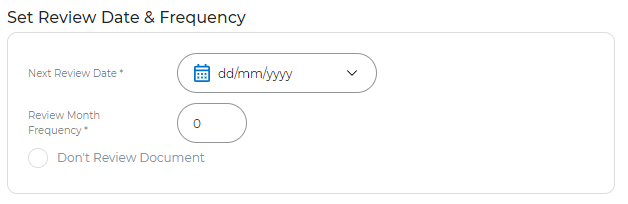
Set Review Date & Frequency
When you select a location the Set Review Date & Frequency will be updated to the default value applied to that location. This value may be overridden when creating a new file.
Document Settings
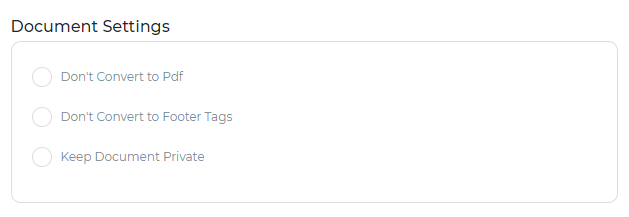
The Document Settings are optional settings:
- Don't Convert to PDF - All supported document file formats are converted to PDF by default if you select this option the document will retain its original file format. (Supported file formats are Word, PowerPoint Excel, and Publisher)
- Don't Convert to Footer tags - Document tags in this document will not be converted
- Keep Document Private - This document will not be searchable for users of other organisations. As Prompt encourages information sharing, this option is recommended to be used only when there is confidential information in documents.
If you do not wish to assign Document Tags, select Submit to process your document.
When you select Submit, the document goes through a conversion process. Scroll down the page to the heading 'Conversion Process'.
To assign Document Tags scroll to next heading 'Assigning Document Tags to your Document'.
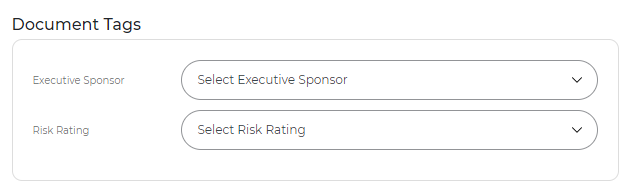
Assigning Document Tags to your Document
If your organisation has document tags enabled, you may assign tags when creating a document.
To assign Document Tags, the document tag types must be enabled by your Prompt Admin in the organisation settings page (Admin -> Manage Organisation -> Edit Organisation -> Document Tags). If you are unable to see some of the options listed below and wish to start using them, contact your Prompt Admin.
Document Details tab
To assign an Executive Sponsor and/or a Risk Rating, use the drop-downs to make your selection.
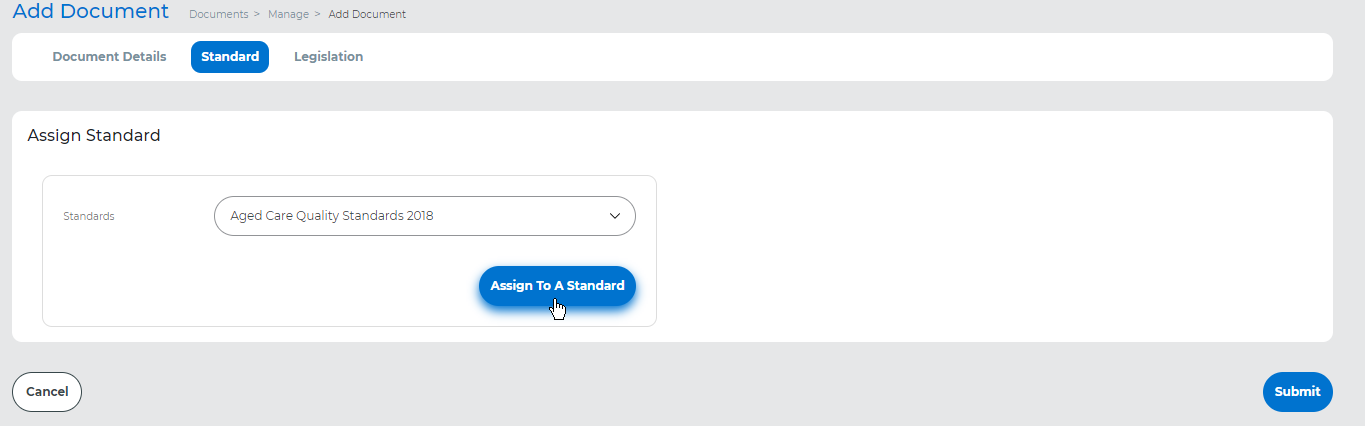
To assign a Standard go to the Standard tab, select from the drop-down, then select Assign To A Standard .
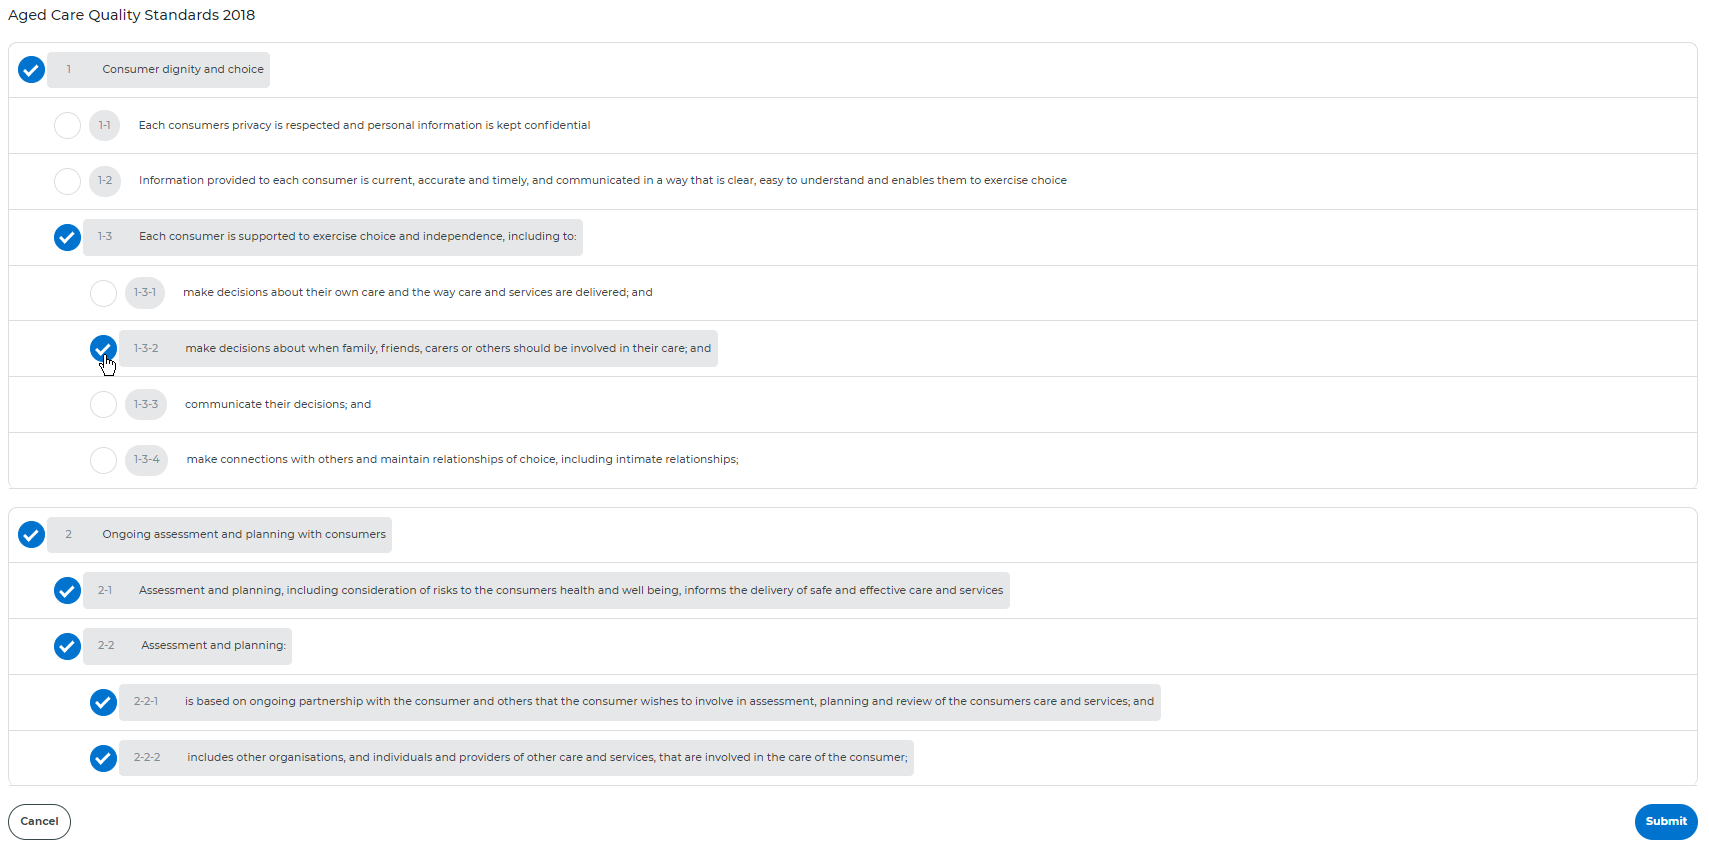
A new window will open. Select the sections of the Standard you wish to tag against your document by selecting the circle button at the left of their name. You may de-select sections by clicking on the same circle button again. Select Submit when completed.
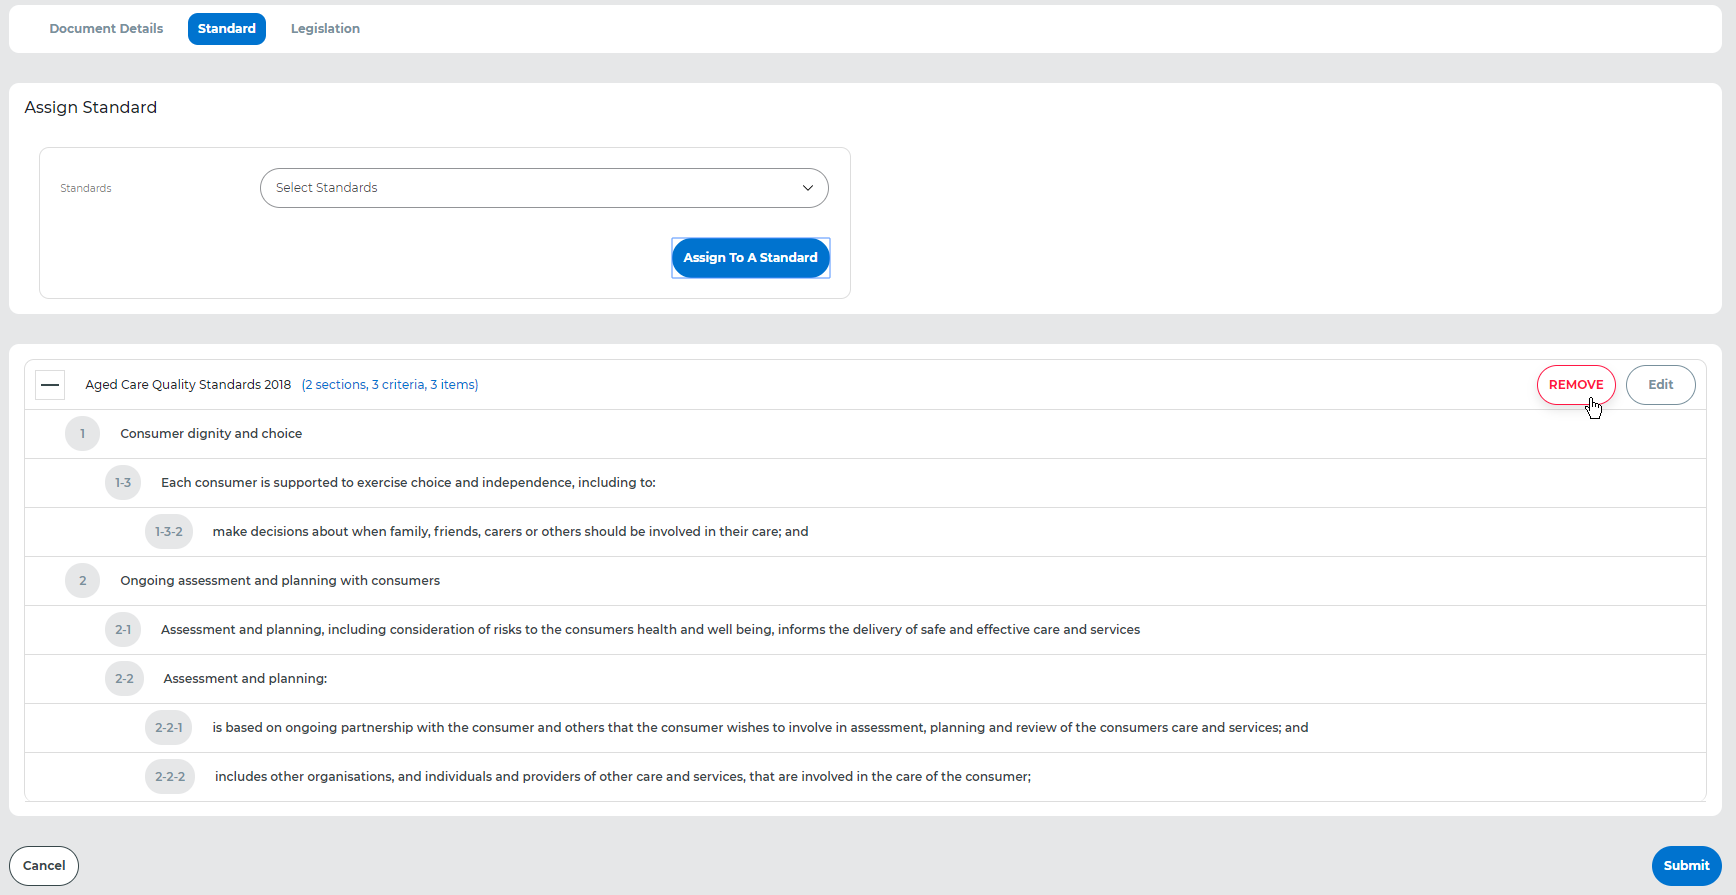
You will be returned to the Standard tab.
A list of all currently assigned standards will display. To assign additional standards to your document select Assign To A Standard.
To edit the currently assigned sections from a Standard you may use Edit to return to the Standard sections window.
To remove a Standard, select Remove. The whole standard with all of it's sections will be removed from this document.
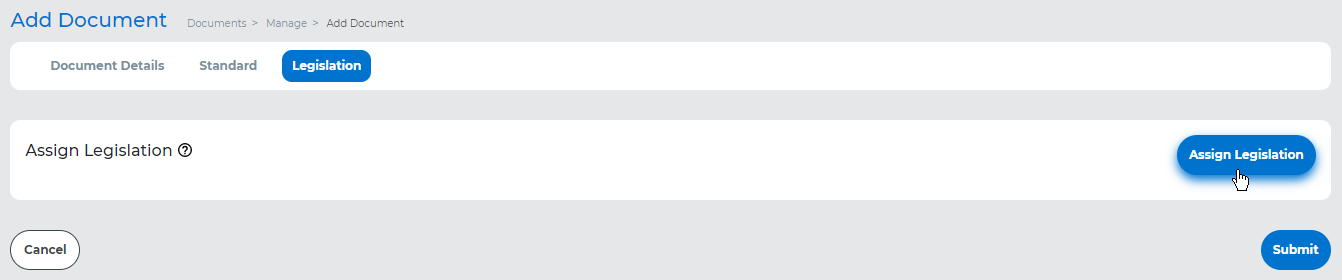
To assign a legislation, go to Legislation tab and select Assign Legislation.
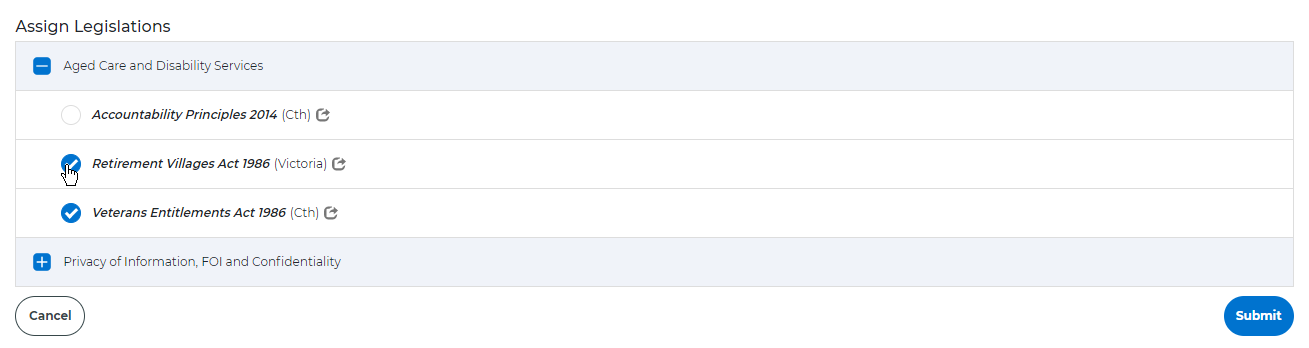
A new window will open. Displayed are all Legislation categories.
plus icon
Select the circle button to assign a Legislation to your document. You may de-select a Legislation by clicking on the same circle button again.
Select Submit to complete.
You will be returned to the Add Document page where you will see displayed all Legislation currently assigned to the document. You may return to Assign Legislation if you wish to remove or add new Legislation to the list.
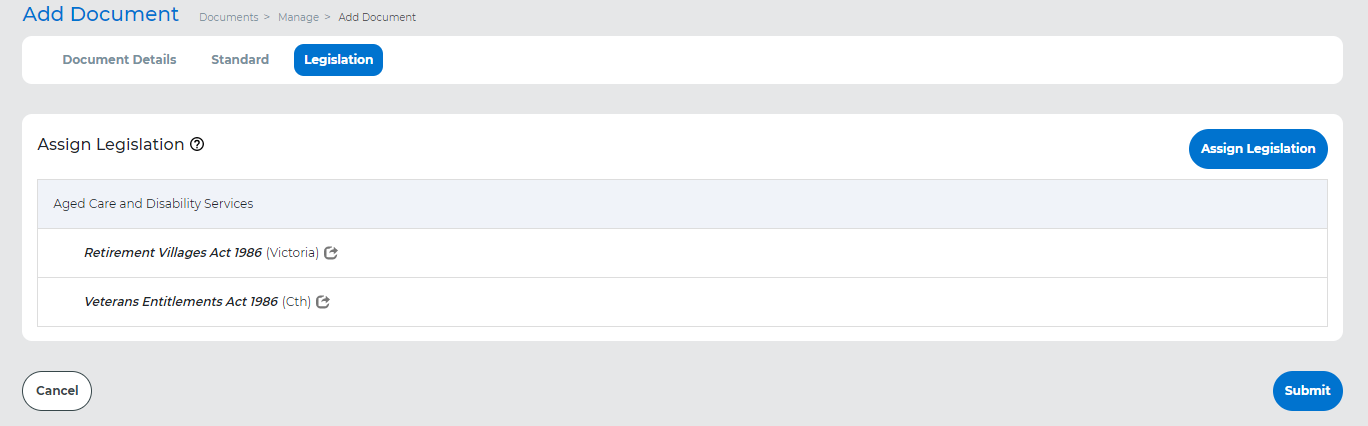
Select Submit to process your document.

Conversion Process
When you select Submit, the document goes through a conversion process as follows:
- Converted to PDF (except when ticked 'Don't Convert to Pdf')
- Footer tags converted (except when ticked 'Don't Convert to Footer Tags')
- Screenshot taken for document preview (when mouse hovers over document's icon in document list).
This process may take a couple of minutes and once completed your new document will be available.

If the location you've added the document has an Approval Process in place the document goes to Pending Approval State, and will only become active when approved. If rejected you will receive a notification with a rejection reason and your document will be sent to the Home page to enable you to check-in a new file.

If the document was created in a section without an Approval Process or the document has been Approved, it will become active in Prompt.
