Tips and Tricks
Working With In-Drafting Styles
Basics of the Prompt Home Page
How To Search For Documents In Prompt
How to turn on previous searches in Google Chrome (Autofill)
How to access the Support Portal
How to Export Search Results
How to generate offline server document list
Why can't I add a permission to a user?
How to manually trigger or troubleshoot the Offline Sync process
How to Discontinue Copying from Another Organisation
How comments behave during document review and approval
How to remove approval permission from an Admin and retain other permissions
How to change a Document Owner
Why a document may not appear in Offline Sync
How to Add a Searchable Location in Prompt
Failed AzureAD Process – Expired Azure Secret
Smart Art text not formatting correctly after Prompt converts it to PDF
How to locate and reactivate a disabled user
What documents appear in the Offline Sync?
Why do Reviewers get revoked?
Why a document version history can be missing in the drafting tool
What is the Document Information Email and how to use it?
Resolving Duplicate Email Issue for Disabled Users
How to permanently skip Review
Organisation Setup
How to configure a Submission Process
How to configure a Requisition Process
How To Configure Your Organisation
The Details Tab
The Submission Process Tab
The Requisition Process Tab
How to add/edit a Department
Understanding Department and Section Statuses in Prompt
How To Edit Your Organisation
How to configure Document Author Submissions
How to set up an Organisation Message
The Drafting Process Tab
Configurating Documents Tags
Offline Access Application
Email Domains Tab
Configuring Standards
How to add/edit a Section
How to configure an Approval Process
How to update your Organisation logo
How to rename a department or section in Prompt
Configuring Documents Reviews
How to assign Standards, Legislation, Executive Sponsors and Risk Rating
How to Configure Azure AD SSO
Email Autocomplete
How to set up Risk Rating
How to configure the Drafting and Reviews Process
In-Drafting
In-Drafting Guide
What is In-Drafting?
In-Drafting Overview
Requisition Stage
Drafting Stage
Review Stage
Submission Stage
Approval Process
Document Author Forms
Receiving The Requisition Form
How to enable Prompt Drafting Plugins
Managing Co-Authors
"Download Failed" error in the drafting tool
Where to access Prompt Drafting Plugins
User Management
How to set up a new general user
How to set User Access Rights
How to set up user permissions
Prompt Roles and Permissions
How to set up Executive Sponsors
How to change my profile picture
How to Setup Automatic User Provisioning in AzureAD
How to set up an anonymous user
How to assign cross organisational search access to a General User
How to Generate a Mobile Token
How to invite reviewers
How to disable a user
How to promote a user to an Admin
Add New User: Email address is already in use
How to reset a user's MFA setup
How to log in with Email Token MFA option
How to remove user permissions
How to set an expiry date for staff user logins
How users access Prompt offsite by generating their own mobile token
How to set up Multi-Factor Authentication (MFA) as Email Token
How to suspend a user
How to unlock a user
How to set up a user as an approver
How to View User History
Login Failures
How to set up a new admin user
How to change my password
How to set up Multi-Factor Authentication (MFA) on Authenticator Application
New Client Migration
Migration Target Schema
Migration Data Transformation Example
How to upload data and documents to staging location
Troubleshooting data validation issues
Frequently Asked Questions
Why is MFA not working on my phone app?
Why is the PDF document title displayed incorrectly and how can you change it?
Business Continuity Plan/DR - Prompt suggestion
What Footer Tags are available in Prompt?
What happens to documents when In-Drafting is turned off?
How do I search for other organisations documents?
Prompt Terms and Definitions
How to make documents go to the Submissions tab instead of the Approvals Tab
Password Reset / Expiry
Why can't I see the Next Review Date from the exported result in Search?
Understanding Document Approval Reminders and Notifications
Incorrect / Missing Font in converted PDF file
Who is Lucas Victoria?
How to change a document title?
Checking-in a Document - Where does my document go when I check it in?
How to assign my Prompt Admin role to another user?
Username - Why doesn't my old Prompt user name work?
Email - Auto-generated email notification signature - I don't want my name on them
Notifications
How many administrators can be added to an account?
Which document types are supported in PROMPT?
The Recommended Browser
Do users need to log into PROMPT with a username and password?
Single Sign On Frequently Asked Questions
How to change a document Review Date?
How to enable Track Changes in the drafting tool
What's the difference between inviting co-authors with Prompt credentials and those without? How do they log in?
Chrome settings - How to change to enhance Prompt usability?
Is there a cost for PROMPT?
Request a document version
Approving a Document - Why can't I see the document I need to approve in the Home Tab?
What is Multi-Factor Authentication (MFA)?
Why do disabled documents appear in the Document Register report even when Deleted filter is not chosen?
Why do I get a Change Your Password page when I sign in?
User Permissions - How do I add or change user permissions?
How is Prompt's development work handled?
Prompt Documents Support Hours
Why can't I edit the Agency Admin account?
Notification that you will be logged out
Document Review Date - Why can't I change the Review Date when checking in a document?
Bulk Move Documents - How do I bulk move documents?
Why am I getting an expired error when I link a Prompt document?
Audit - Full audit does not show full history of document
Why did I not receive my password reset token?
Working Offsite - Why does anonymous user link go to log-in page
Document ID - Why have my document IDs changed in the new Prompt?
What to do when a user is in "Pending" status?
Is PROMPT endorsed by the Department of Health?
Log-in Screen - Why do I get the log-in screen when I click on the anonymous user link?
Document Management
How to create fillable PDF forms
How to Reactivate a Disabled/Deleted Document
How to Keep a Document Private
How to Copy a Document Link
Assigning Standards or Legislations
How to change a Document's Location, Document Type or Sponsor
How to Copy a Document
Document Priority Notifications
How to search for a document
How to set an Implementation Date
How document versions work
How to Check-In a document
How to Approve or Reject a Document
How to Check-Out a document
Document Search Settings for Anonymous Users
How to add/edit Document Types
How to access the Document History
How to access the Document Information
How to submit my draft document
Document Processing Failures
How to embed Footer Tags into a document
How to invite Document Co-Authors
How to Request a Document
How to customise my forms
How to insert Hyperlinks into Prompt documents
How to download All Documents
Remove and Reinstate Document Review Requirement
How to set a Document Review window for responses
How to Disable/Archive a Document
How to Link Documents and Create Alerts
How to use Full Audit of a document
How to Create a New Document
How to re-upload a Failed Document
Prompt Implementation
Reports
- All Categories
- Organisation Setup
- How to configure a Submission Process
How to configure a Submission Process
 Updated
by Prompt Support
Updated
by Prompt Support
The Submission process is an additional layer on the approval process, that includes a custom form to be completed when checking in a document and a custom checklist for when publishing a document.
Submissions will replace the check-in process every time a new document version is checked-in and the Document Author will have to complete the submission form before submission is complete.
When this document is sent to the approval process if the approver has the Publisher role it must complete the submission checklist before approving the document.
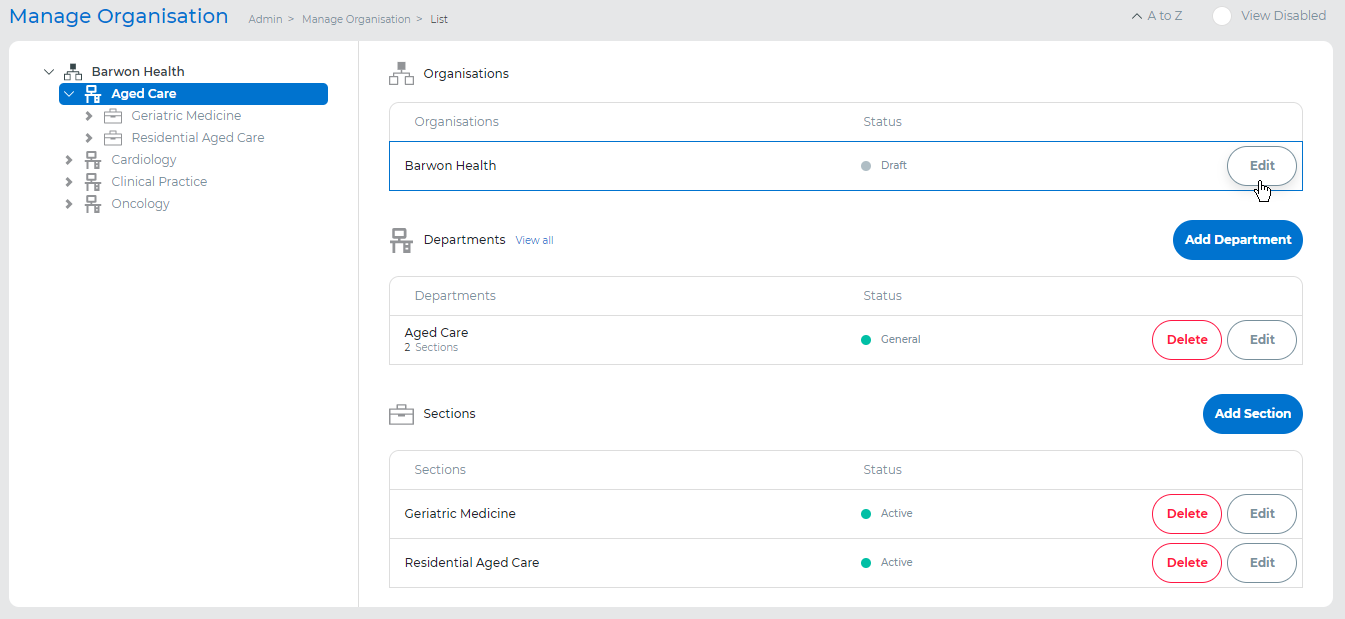
To enable the submission process go to Admin -> Manage Organisations and select Edit at the name of your organisation.
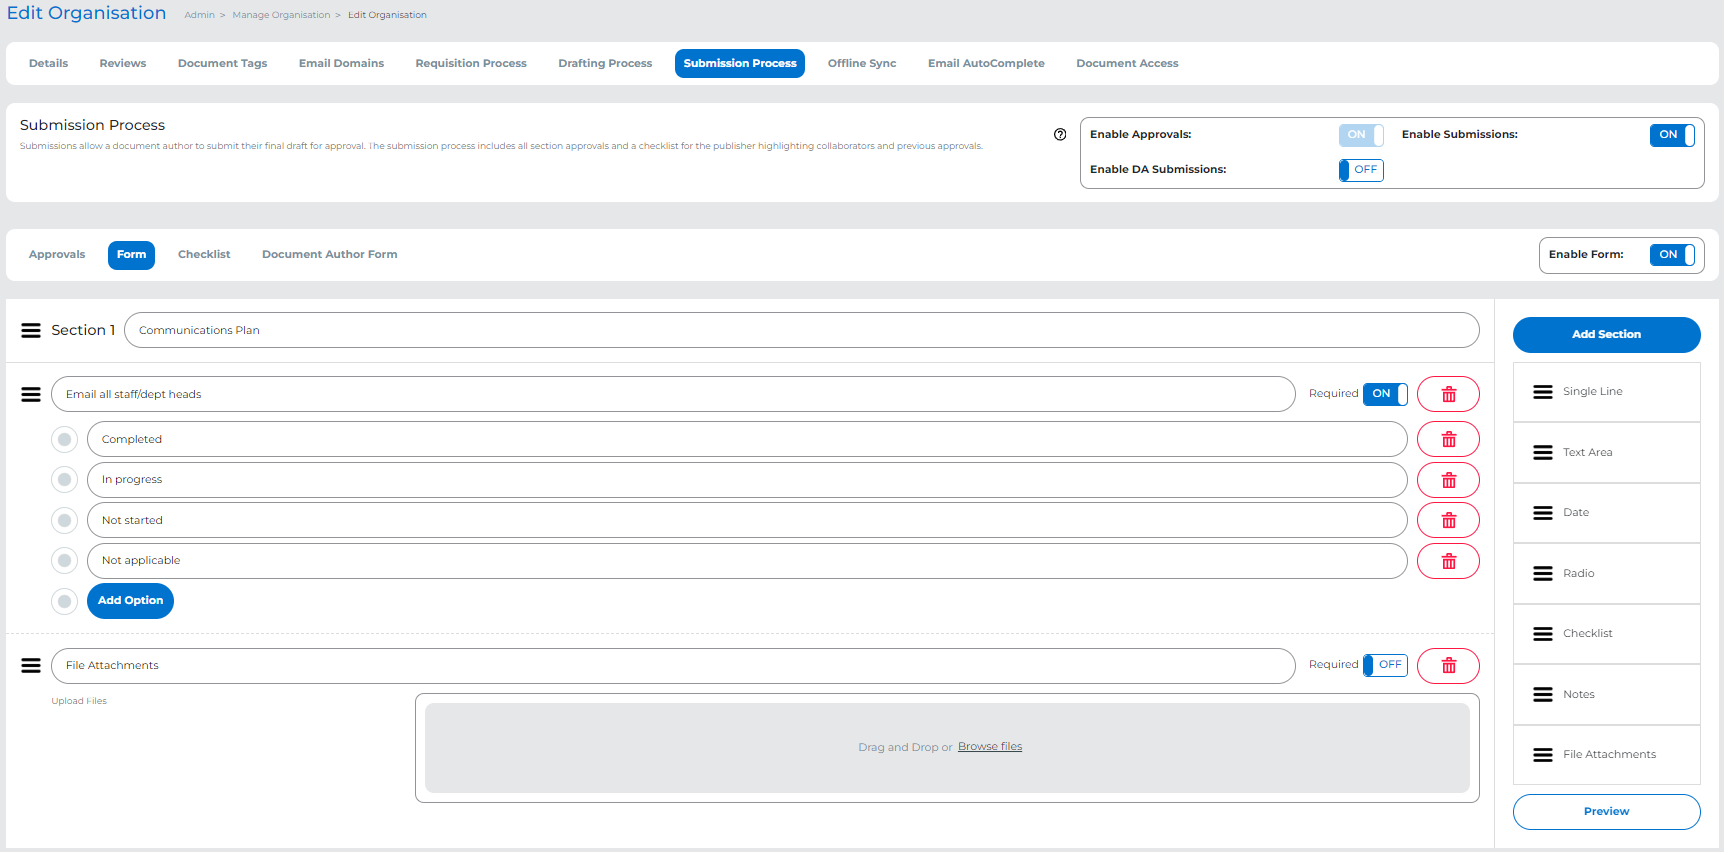
Go to the Submission Process tab and Enable Submissions. This will also enable approvals, as the submission process requires an approval process in place.

Once enabled, you can go to the Form tab and create your submission form, to the Checklist tab to create your submission checklist, and to the Document Author Form tab to create the DA Form.
They can both be disabled individually,
- If the Form is disabled only the checklist and the consultation will be available to approvers,
- If the Checklist is disabled it won't be visible to Publishers.
- If the Document Author Form is disabled it won't be visible to Document Authors.
- If ALL are disabled, it is the same as disabling the submission process, it is advised to have at least one enabled if your organisation wishes to use the submission process.
Note: These forms will be used in all submissions, they won't differentiate approval processes and sections.
Considerations on the Form's visibility
The Approval Process in Prompt is set in a way that prioritises the location setup in order:
Document Type
Section
Department
Organisation
When the Approval Process on any relevant Location is set to None/No Approval, forms are not displayed to be filled out during the Create Document/Check-In procedures or on the Forms page after Check-In.
Examples: (Form is activated)
Scenario 1
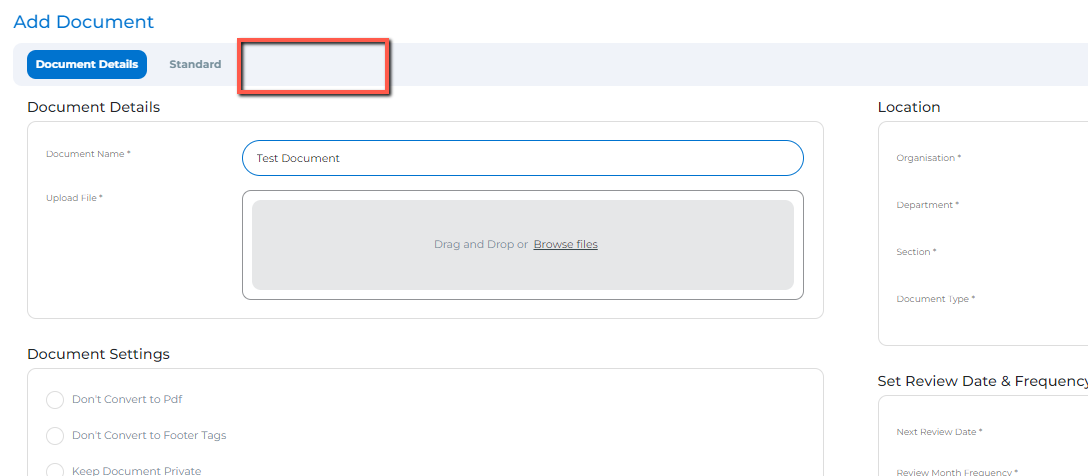
The Document Type is set to None:
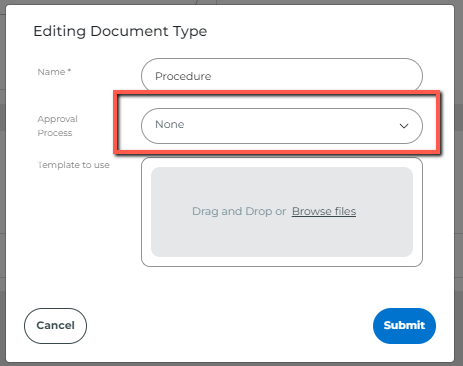
During document creation, the Other Question tab will not be present for the form to be filled out:
Scenario 2
The Document Type, Department, and Section are all set to Default but the Organisation Default Process is set to None:

During document creation, the Other Question tab will not be present for the forms to be filled out as well.
Scenario 3
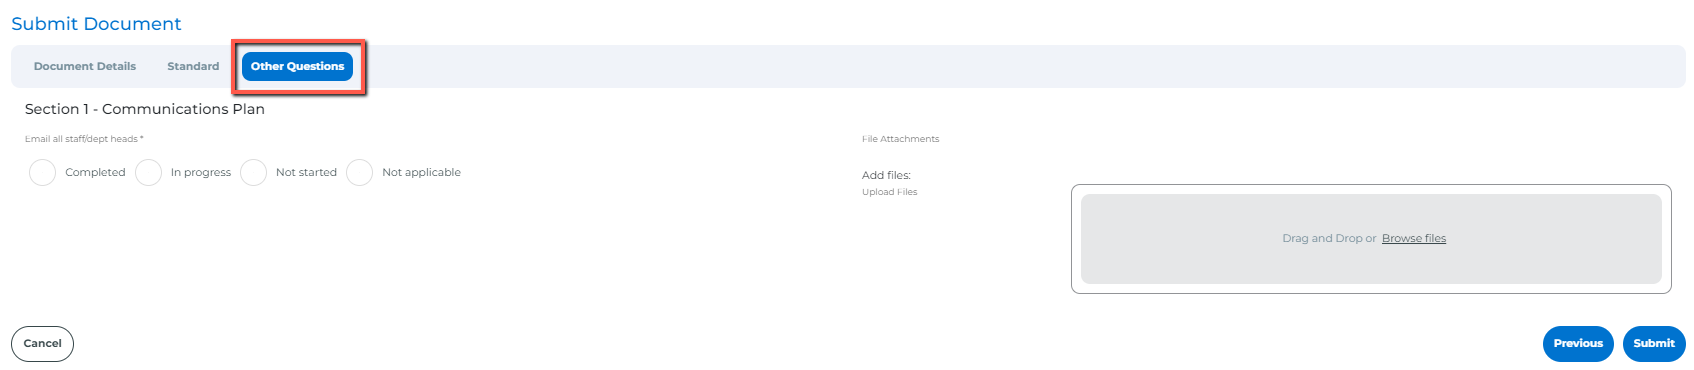
The Document Type and Department/Section are set to Default, and the Organisation Default Process is set to Publish. During document creation, the Other Question tab will be present for the form to be filled out.
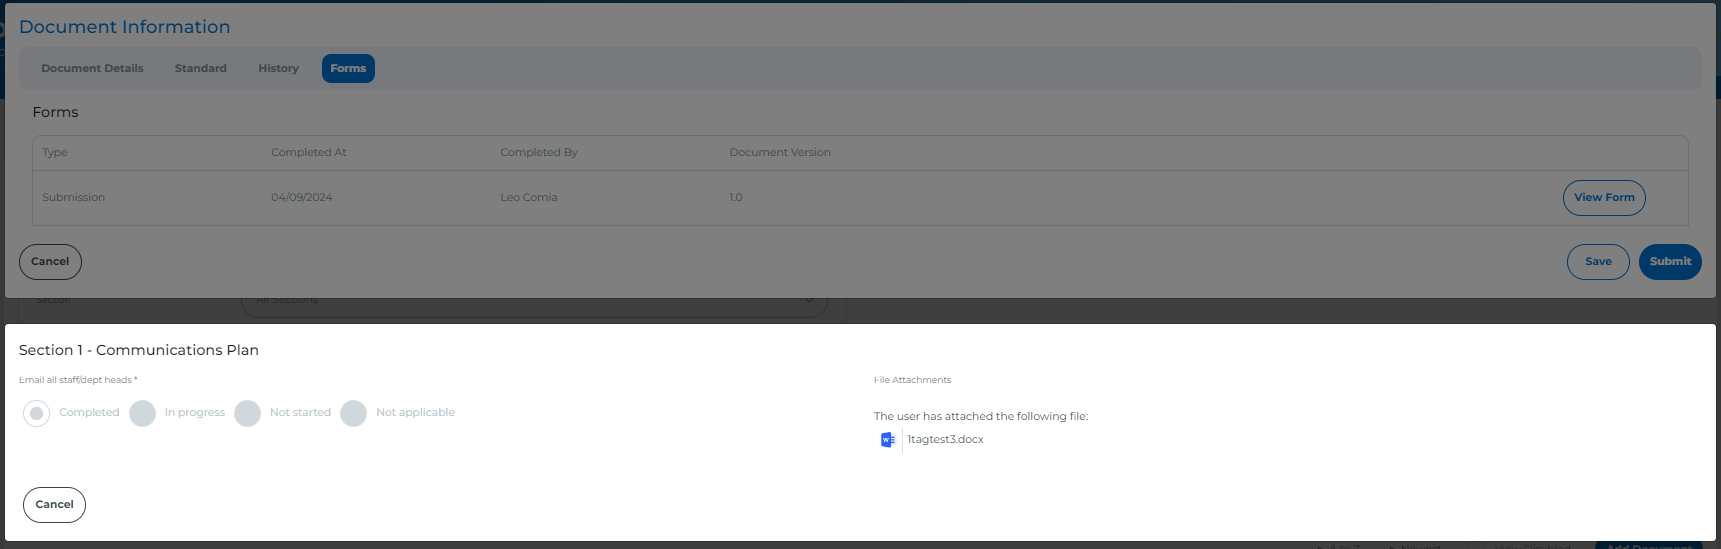
After checking in, the form information will be accessible on the Form tab of the Document Information window, and selecting View Form will display the completed form:
Form builder instructions
To add a new question, select the element you wish to add and drag it to the form.
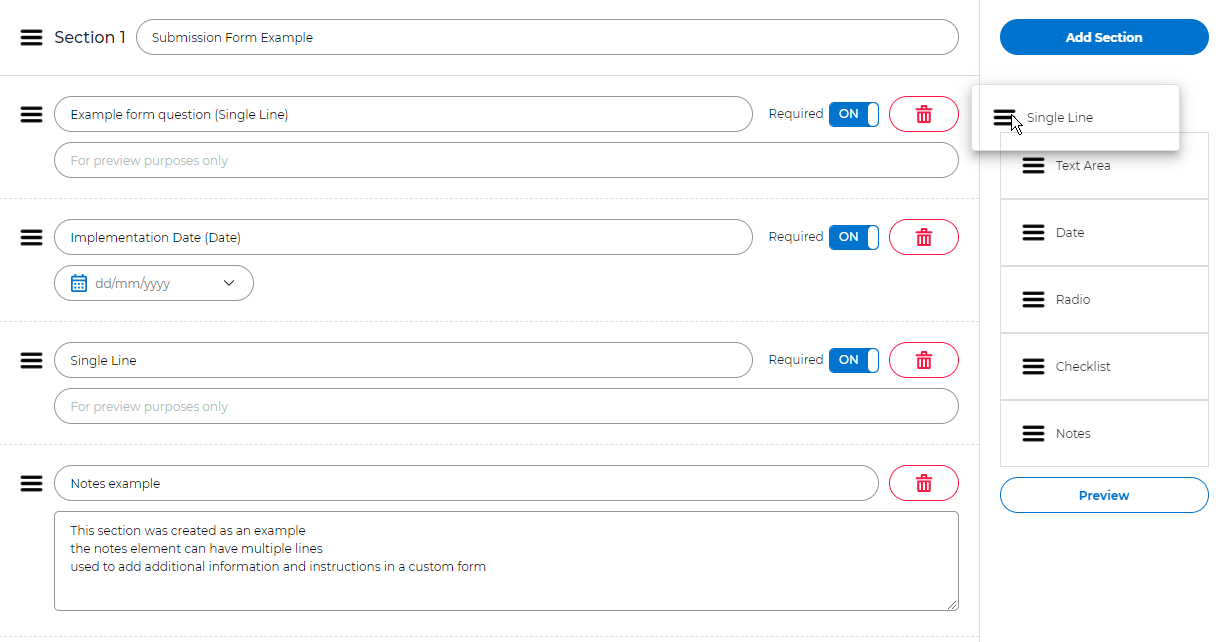
The element will be added between the existing elements in the form.
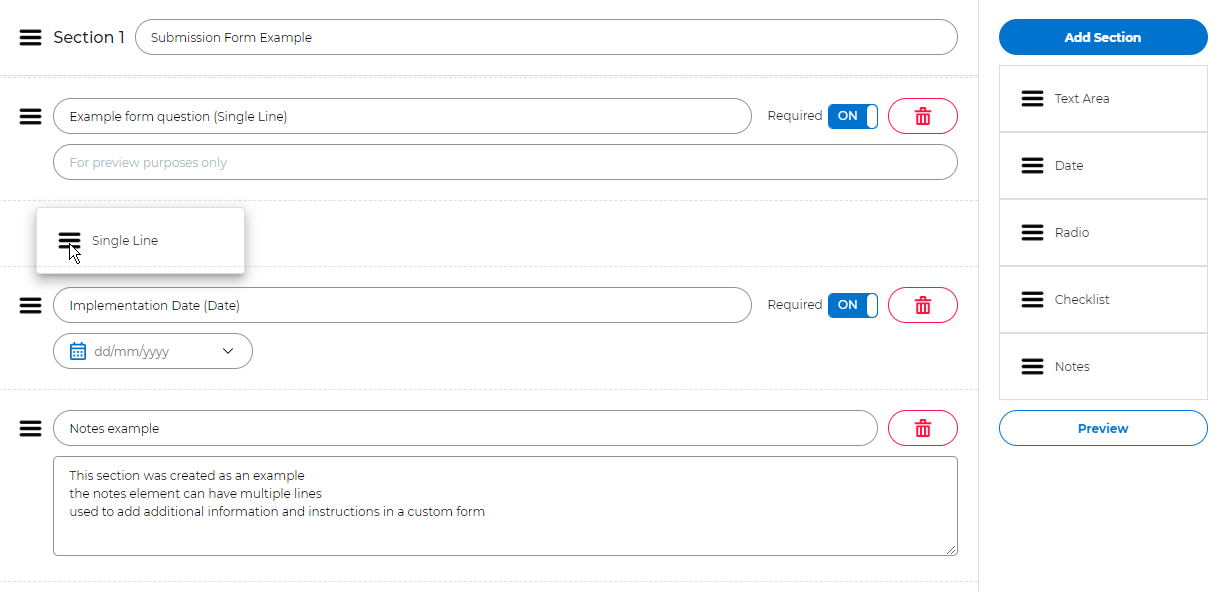
You can select the three lines icon at the left to reorder questions in a form.
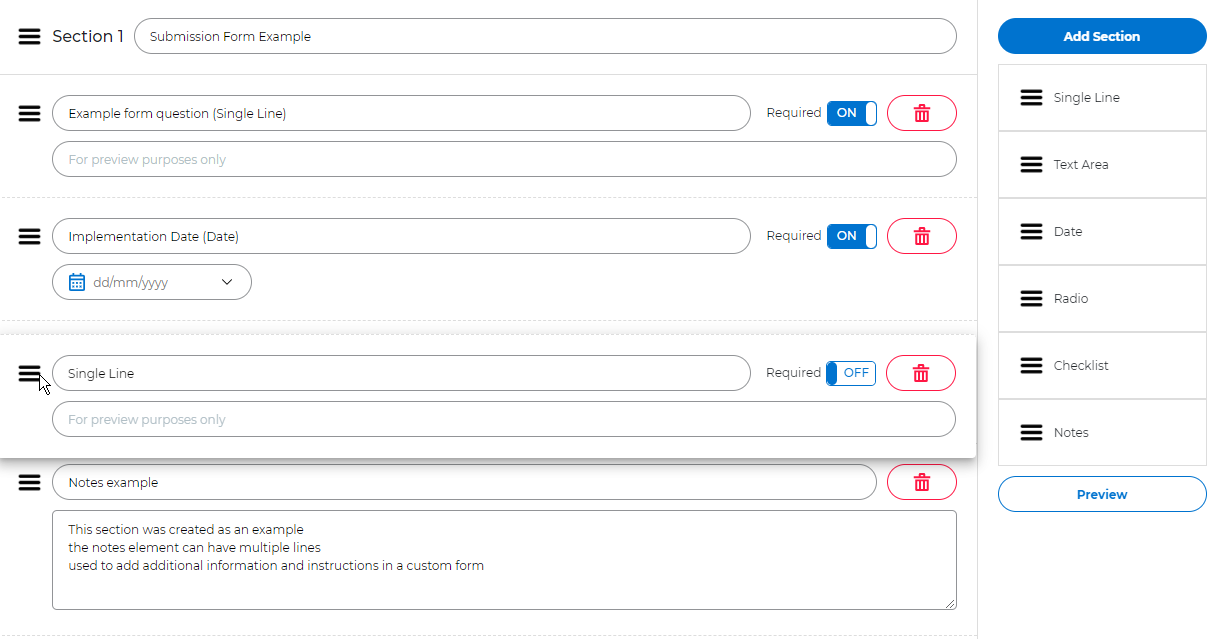
To Remove an unwanted question, you can use the trash can icon.

You can mark a question as Mandatory by enabling the Required slider. When enabled this question has to be answered when submitting this form.

- Section: a section is a group of questions, a form can have multiple sections.
- Single Line: it's a type of question that requires an answer in a single line.

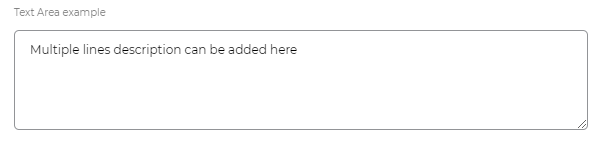
- Text Area: it's a type of question that requires an answer that can be a short text with multiple lines.
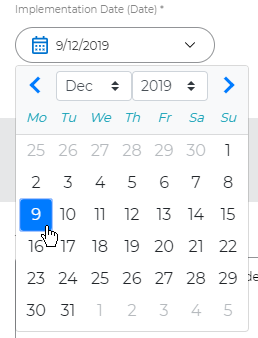
- Date: it's a type of question that requires a date as an answer
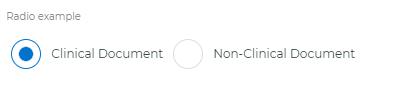
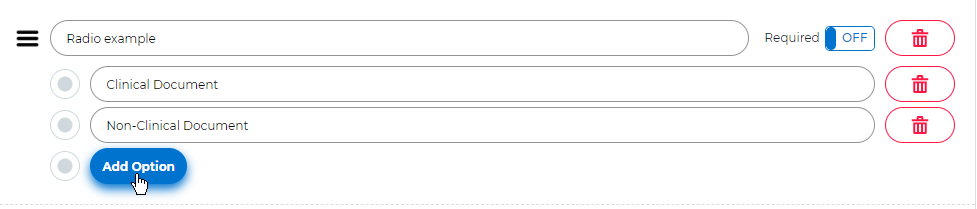
- Radio: the radio element provides multiple choices but only one can be chosen.
To add new options to a radio question, select the Add Option button, to delete an option select the Trash can icon on the right side of the unwanted option.
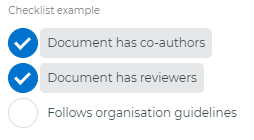
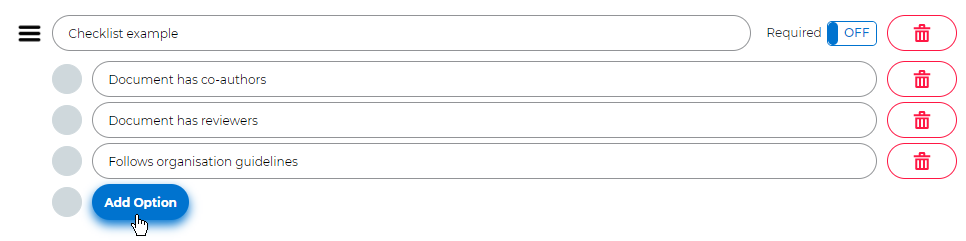
- Checklist: It's a series of multiple boxes that can be checked to review something, more than one box can be checked in each checklist component, if mandatory, at least one box must be checked.
To add new options to a checklist, select the Add Option button, to delete an option select the Trash can icon at the right side of the unwanted option.

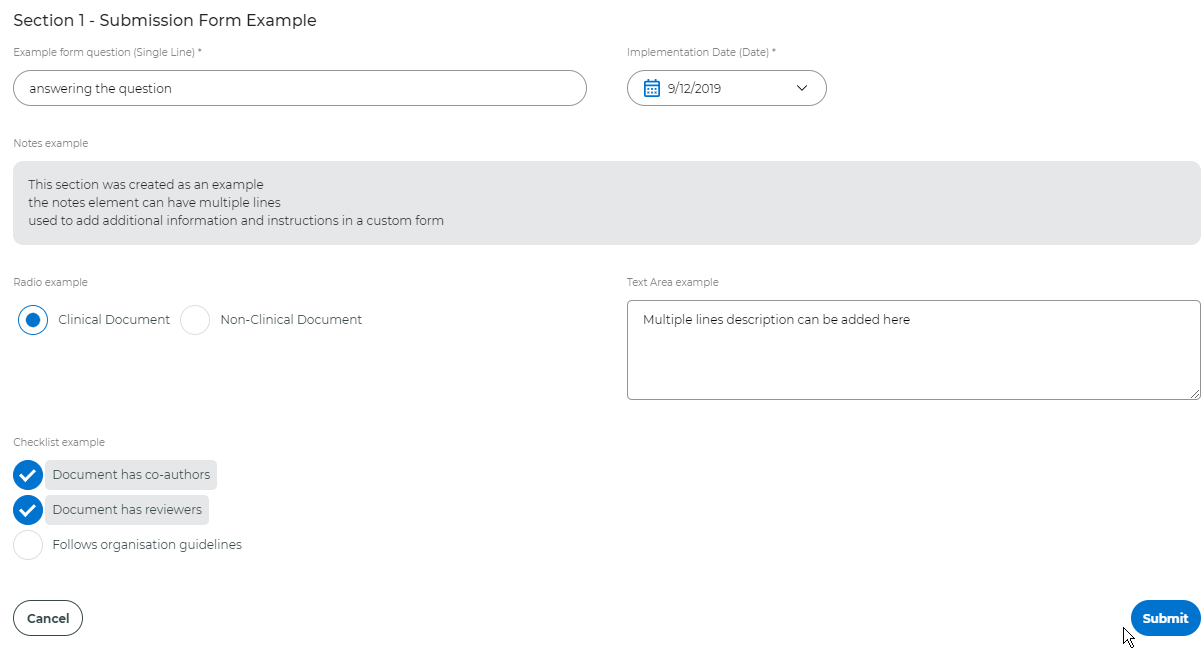
Example Form: